“Photography” – The one thing which we like to do while on treks is – taking photos, lots and lots of photos. We actually end up with lots and lots of photos. Post the trek, when the time comes to share these photos, we try to share them all. Which is a big mistake. When it comes to trekking and travel photography tips for beginners,
The first rule of photograph sharing: Never share your entire album. Be selective in what you share. Edit your photos before these go out.
This blog is an effort to help you become a better photographer. This is based on my personal experiences. This trekking and travel photography tips blog is not for “pro” photographers. But for regular Joe like me and you, who wants to capture and share decent pics on social media.
Trekking & Travel Photography Tips for Nomads!
1) Invest in a good camera
Believe it or not, a phone can never replace a good camera. With the latest phones and editing software, phones may definitely give you good-looking pictures. But when it comes to quality, clarity – a good camera is always better than a phone. If you want to take up photography a bit more seriously, I would suggest you purchase a decent camera.
Cameras are of generally 2 types: Point & Shoot and DSLR. (There are many types of cameras, however as I mentioned, this blog is for beginners and not to show off my googling skills!)
Point and Shoot cameras are simple, lightweight, and cheaper. It provides good quality pics. These cameras have good zoom (in certain models) and can be used as multipurpose camera. The photo quality will be better than mobile.
If you want more depth, quality, and clarity in your images, then go for a basic DSLR. The base versions of Canon or Nikon would be good. DSLRs are a little heavy and have a detachable lens. Don’t buy fancy and expensive lenses and go with the standard 18-55 lens which comes with the base model. Once you graduate to a better photographer and feel the need to shoot wild animals, you can purchase a zoom lens.
But before we jump into trekking & travel photography tips, it is important to learn about your camera.
2) Take proper care of your camera
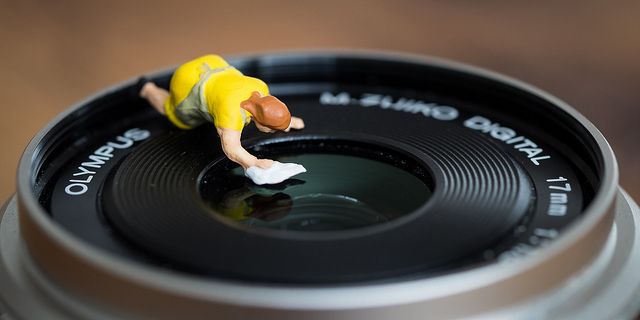
Buying a camera is one thing, however, most cameras (esp DSLRs) require little care. First, get a good camera bag – mostly you will get along with the camera. 2nd make sure your camera is not always in damp places. The lens may get fungus, which will impact the performance.
While trekking during the monsoon, avoid taking pictures with your camera. Monsoon in mountains is unpredictable. If your camera is exposed to rain or moisture, it may stop working. You can switch to mobile phones, which these days are water-resistant.
If you are going to cold environments, make sure you keep your batteries warm during the night. The batteries may drain very fast during cold weather. You can keep your batteries inside your spare socks or sweater for warmth. Generally, camera batteries cannot be charged through power banks. So if the batteries are drained, your camera will become extra weight.
3) Your mobile can capture great pictures too
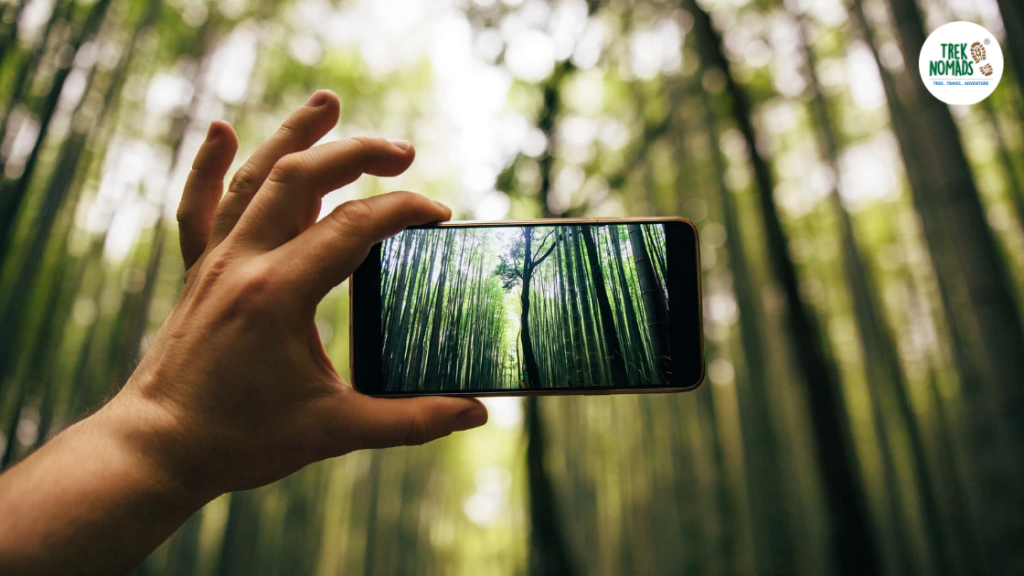
Don’t want to invest in a camera? You can always use your mobile to take great pics.
As mentioned earlier, these days mobile phones have also up the ante in terms of camera quality. You may not get the benefits of the camera as highlighted above, but you still get share-worthy pics.
Recommended Reading: Check out our blog on amazing mobile apps which can help you with mobile photographs.
These days mobile phones have portrait and landscape modes. So you can still get good pics. Just follow the other tips to enhance your photography. This is one of the most useful travel photography tips that in our experience.
4) Learn to hold the camera properly
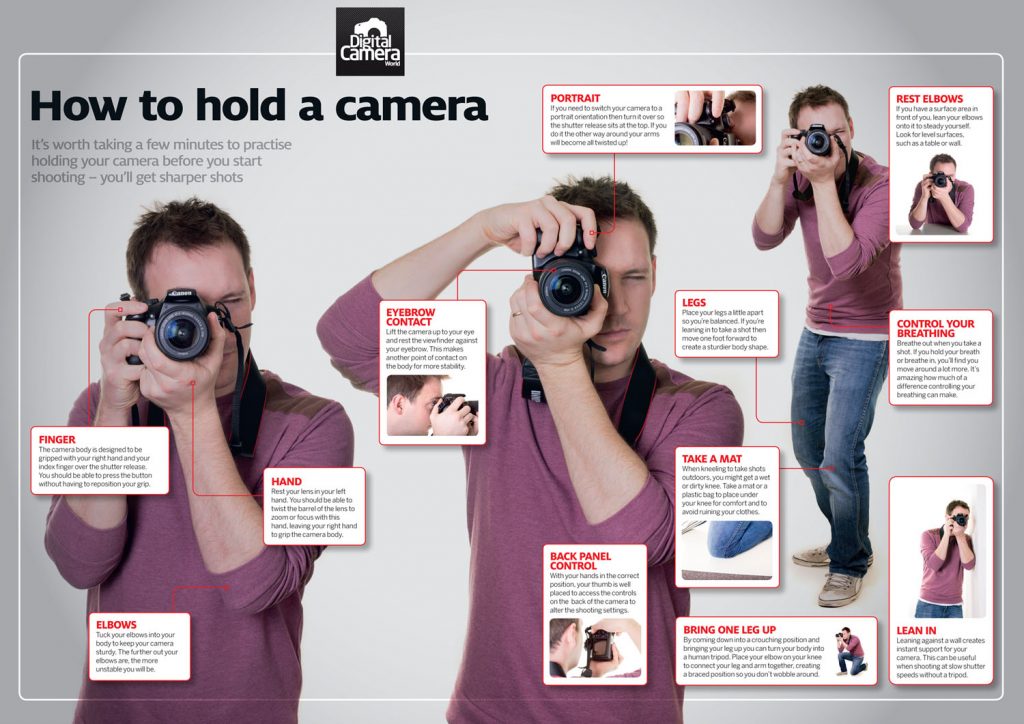
It may sound stupid, but this is one of the most useful pieces of advice. You will get a number of videos and pics on google on how to hold your camera or mobile for a better picture. Generally, make sure the shake is eliminated and your grip is firm (but not too tight). Hold your breath for a few seconds before clicking.
5) Basics of photography
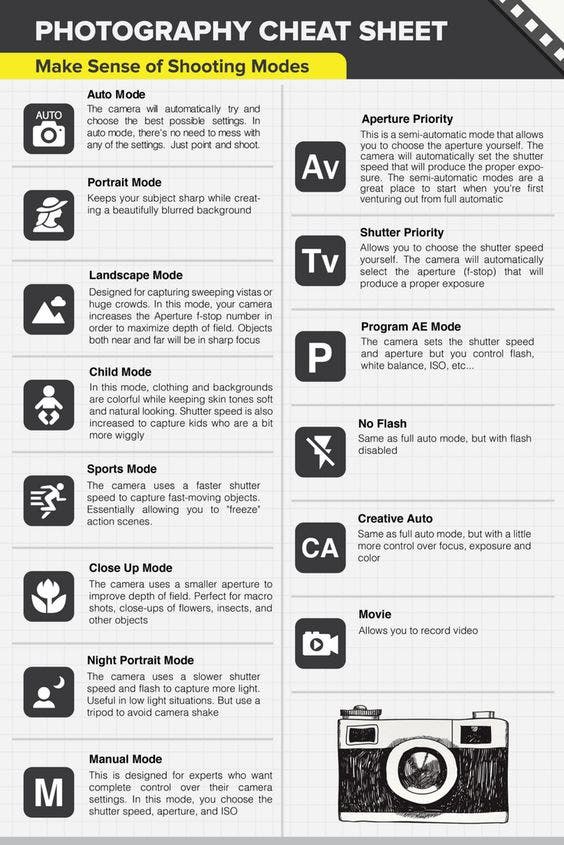
A blog about travel photography tips is never complete without taking you through the basics of photography. Shutter speed, aperture, ISO: Let’s go to a little technical detail. I will try to explain these 3 important aspects of a camera in a very simple language.
Shutter speed:
This means how long would the shutter of a camera be open. The longer it is open, the more light it can capture. And the shorter it is open, the lesser light it can take. So, how does it matter, and in which situations?
If you are taking a picture of an animal running or someone who moves a lot, you need to increase the shutter speed. A fast shutter speed freezes the motion.
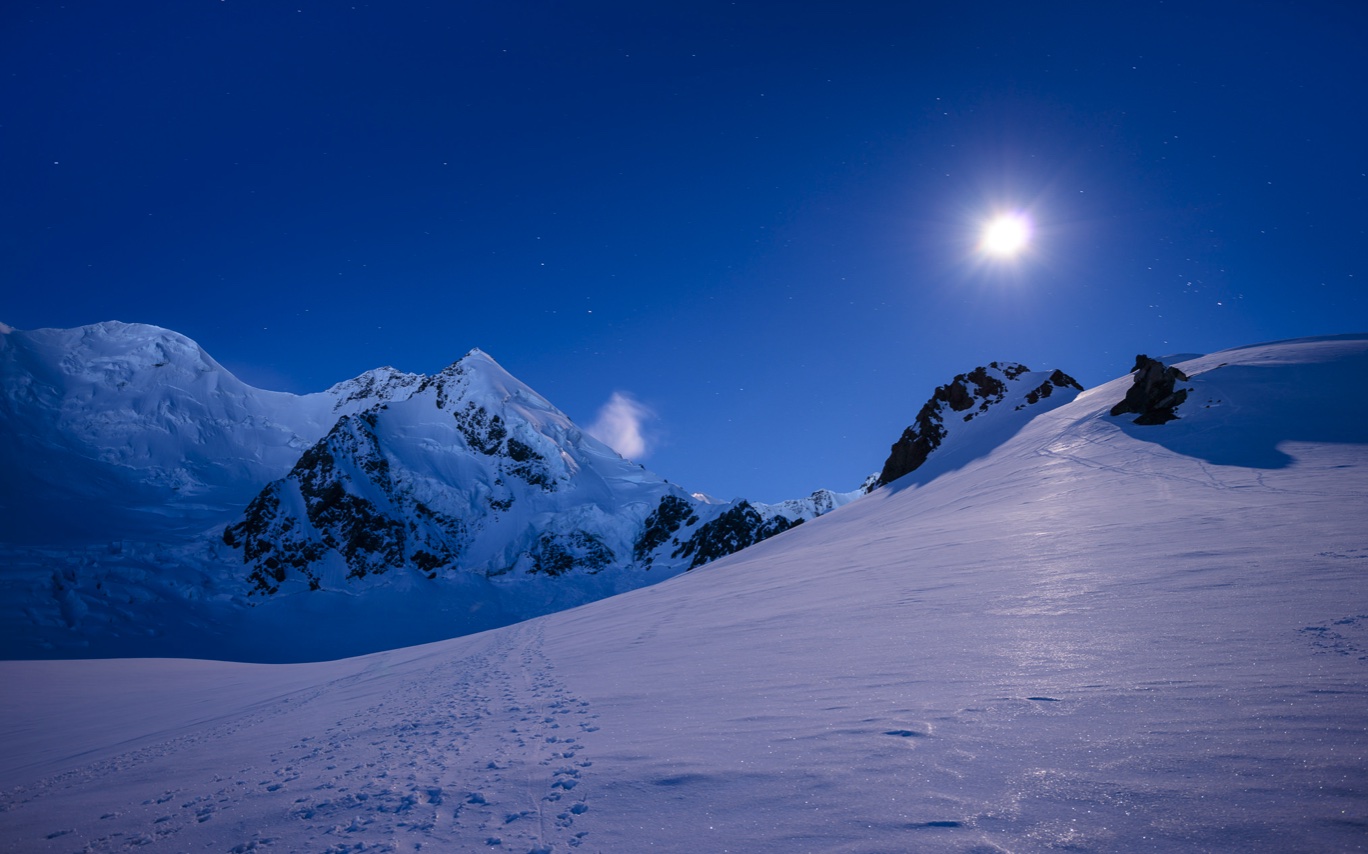
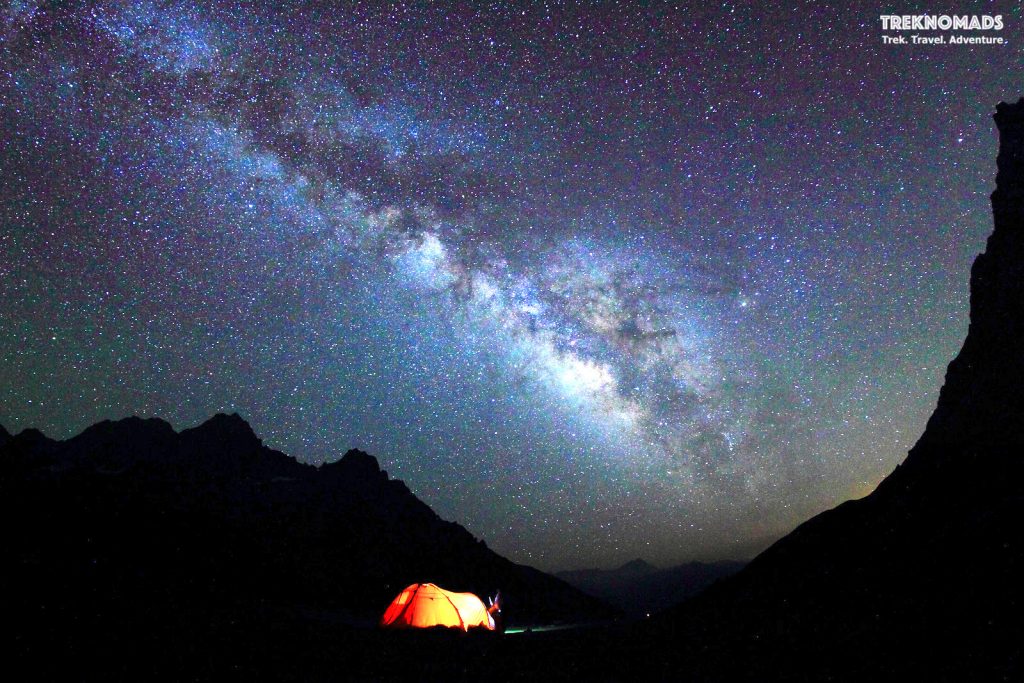
Slower shutter speed will help you take mesmerizing and milky waterfall pics or night photos. A tripod is definitely recommended while using slow shutter speed pics. Like this picture below captured on the Kashmir Great Lakes trek captures the Milkyway wonderfully.
Aperture:
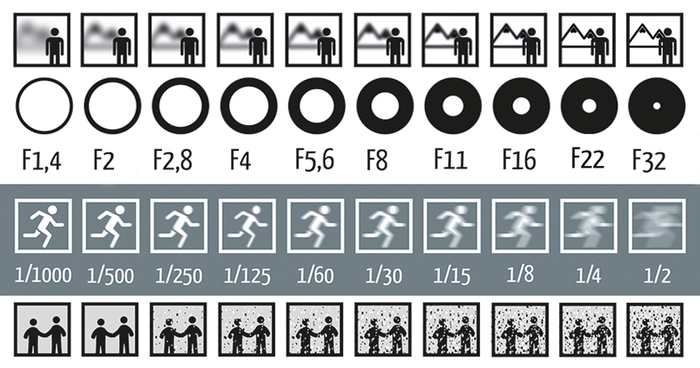
Aperture is the opening of the lens, which controls the amount of light hitting the camera’s sensor. It affects the depth of field. Depth of field brings focus on the main object while blurring the background. A wider aperture means more light hitting the sensor, isolated object, and greater depth of field. Conversely, a narrower aperture means lesser light, lesser depth of field, and hence more objects are in focus.
Here’s a quick guide to Aperture and Shutter Speed that you can refer to:
ISO:
ISO controls the light sensitivity of a photograph. A lower ISO (100/200) is useful for daylight photography. A higher ISO (400 or 800 or higher) is used for night or low light photography.
If you are a beginner photographer, do not get too confused with the above terms. However, if you wish to learn more on these topics, there are plenty of resources available on the net. You can learn the techniques and then practice as much as possible.
Mostly while trekking, put your camera in landscape mode. The camera will auto-adjust with a lower aperture and give you great pics. When you want to isolate an object like a bird, insect, or a friend, put the camera in portrait mode for a higher depth of field effect.
6) The rule of third
One of the most important rules of photography is the composition of a photograph. The composition would mean how you place all objects together in a picture. E.g. you want to take a portrait shot of a person with a beautiful background. You cannot put the person at the bottom of the pic while keeping the entire pic above empty with the background.
One important tip on how to have a better composition is to follow the rule of third. Rule of thirds divides your view into 9 parts. 3 horizontal and 3 vertical lines. The theory says that you should put your main object not in the center, but slightly on the right or the left of the center. This provides better balance to the photograph. Also, the horizon should be either on the top or the bottom of the line.
But hey, rules are meant to be broken. Just make sure that you have an effective result after breaking the rule.
7) How to take great landscape photos
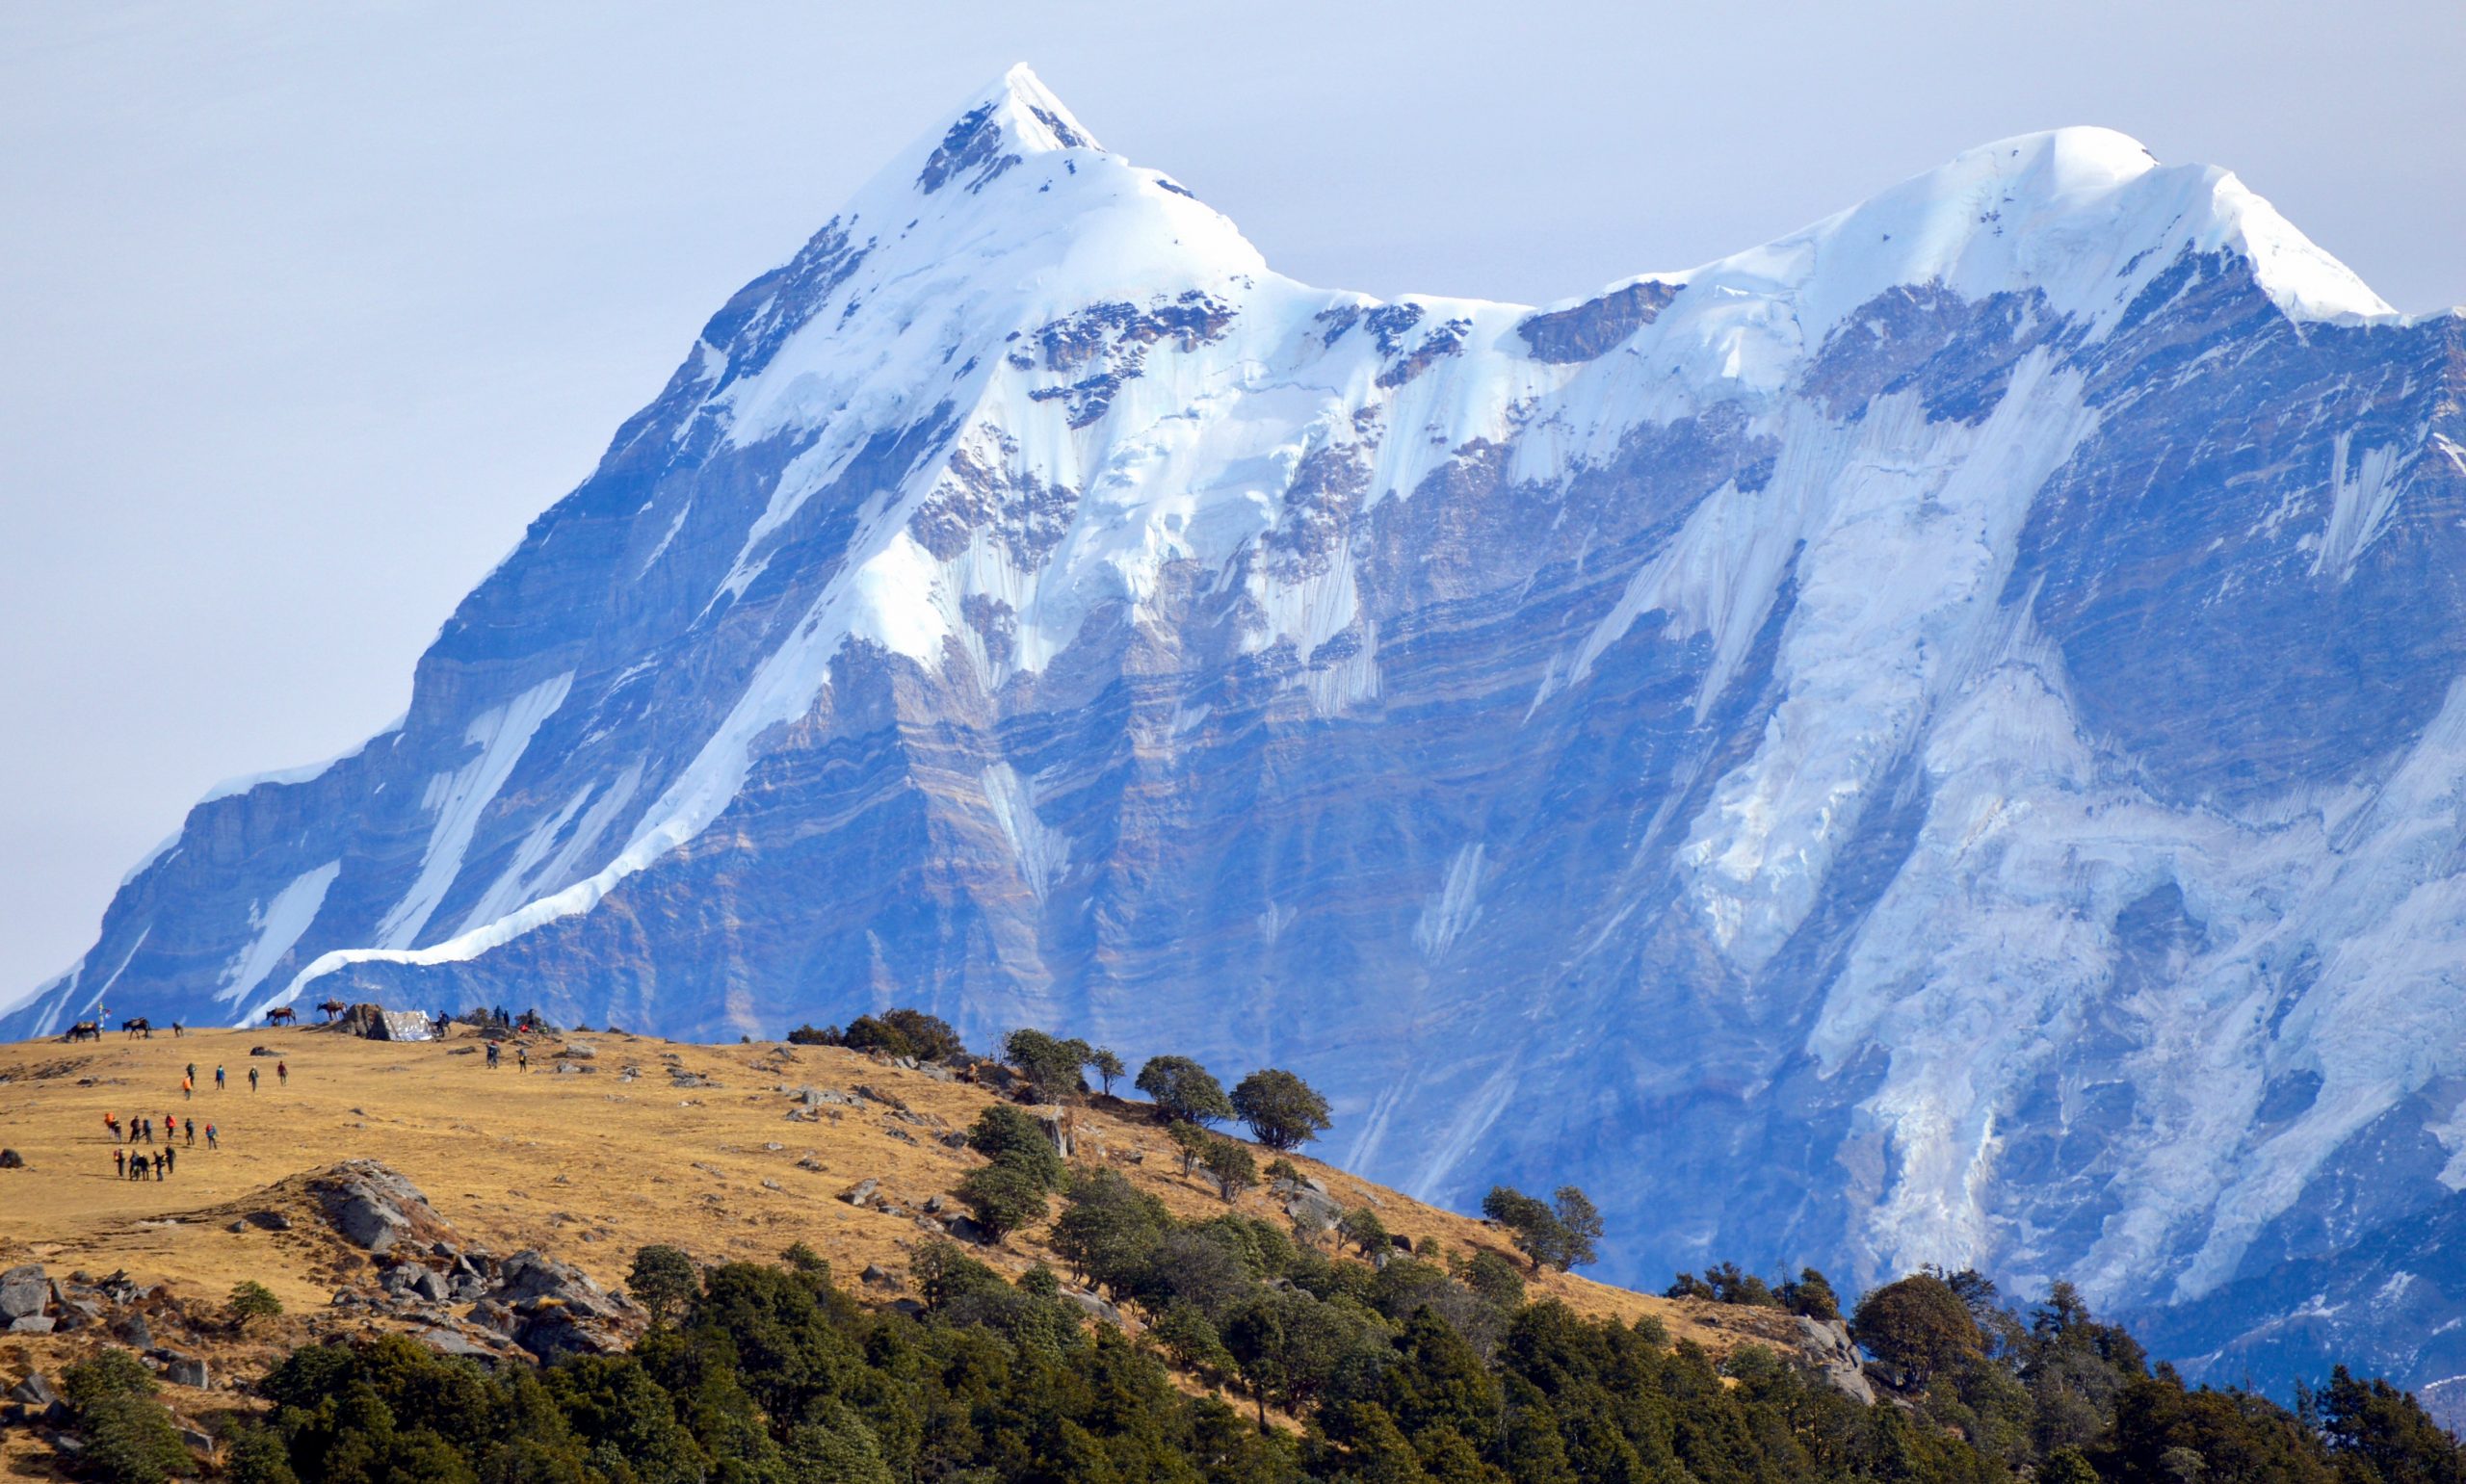
As mentioned above, you can control the aperture to take great landscape photographs. A narrower aperture is required for a sharper landscape photo. While on treks, you will mostly take landscape photographs. As a beginner, make sure that your photo composition is well balanced and your camera is on landscape mode.
8) How to take great portrait photos
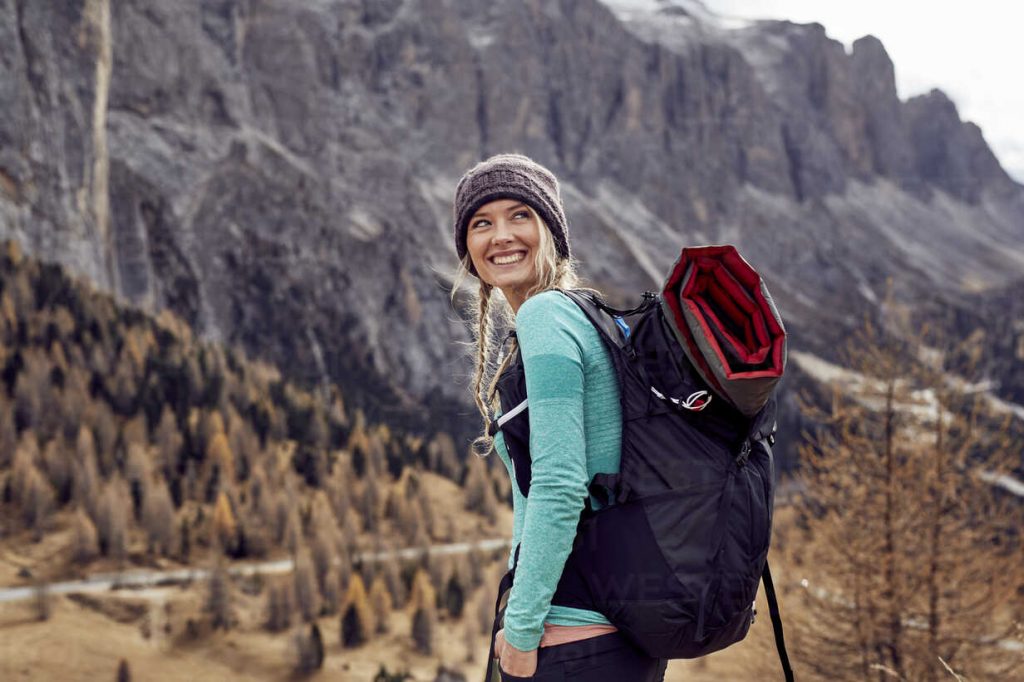
Portrait photographs are great when the depth of field is good. For a good depth of field make sure that your camera is in portrait mode. At times, zooming out and focusing on the central image may also provide a higher depth of field.
Make sure you hold the button for a few seconds for the lens to focus, before clicking a photograph. Hold your breath for a few seconds while clicking to avoid a shake and blurry pic.
9) Auto Mode – Good, Bad, Ugly
The most default mode in all cameras in auto mode. Auto mode adjusts shutter speed, ISO, aperture as per the lighting conditions and tries to give you the best picture. Almost all mobile cameras operate on auto mode. Auto mode is good if you really do not want to get into any technicalities of taking a picture – while still want to take good pics.
While the auto mode is good, it has its shortfalls. The biggest being, it will stop you from taking great pics. When you play with the shutter speed, ISO, and aperture, you get out-of-the-world pics.
10) Focus on the eyes
While taking close portrait shots, try to focus on the eyes. A good sharp photo with a focus on the eyes while definitely elevate your pictures.
At the same time, when you are taking a photo of an animal. Try to make sure that their eyes are visible. However, it is advisable to stay at a safer distance from wild animals during treks.
11) Shoot Sunrise and Sunset
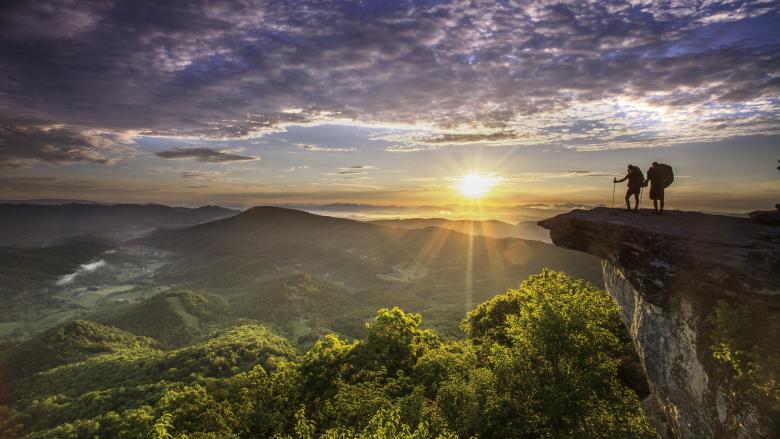
In photography, an hour after sunrise and an hour before sunset are called “golden hours”. This is because the light is warm and soft during this time. Light is the most important element of photography. So the golden hours will give you the best opportunity for a great shot.
While on the treks, you will encounter surreal sunrises and sunsets. There are various tricks you can try during photographing the sunrise/set.
Take a time-lapse video
Time-lapse video is a technique, where we play with the frame rate of a video. In simple language, we take videos at a lower frame rate (1 or 2 per second). While playing the video the frame rate is increased to 30. This shows the video in a fast-forward mode. Most of the mobiles have time-lapse video options. In cameras, if you do not have an option – you have to manipulate during editing. Time-lapse are a great way to capture sunrise and sunsets. You have to be patient as it will take a good 15/30 mins for a time-lapse. Also, make sure that you use a tripod for better stability.
Direct sun shots
Generally pointing the camera directly at the sun is not good for your sensor – when the sun is very bright – at noon. However, during the golden hour, the sun rays are a little softer. The photos taken when the sun is just coming out or going down into the horizon will give you very good photos.
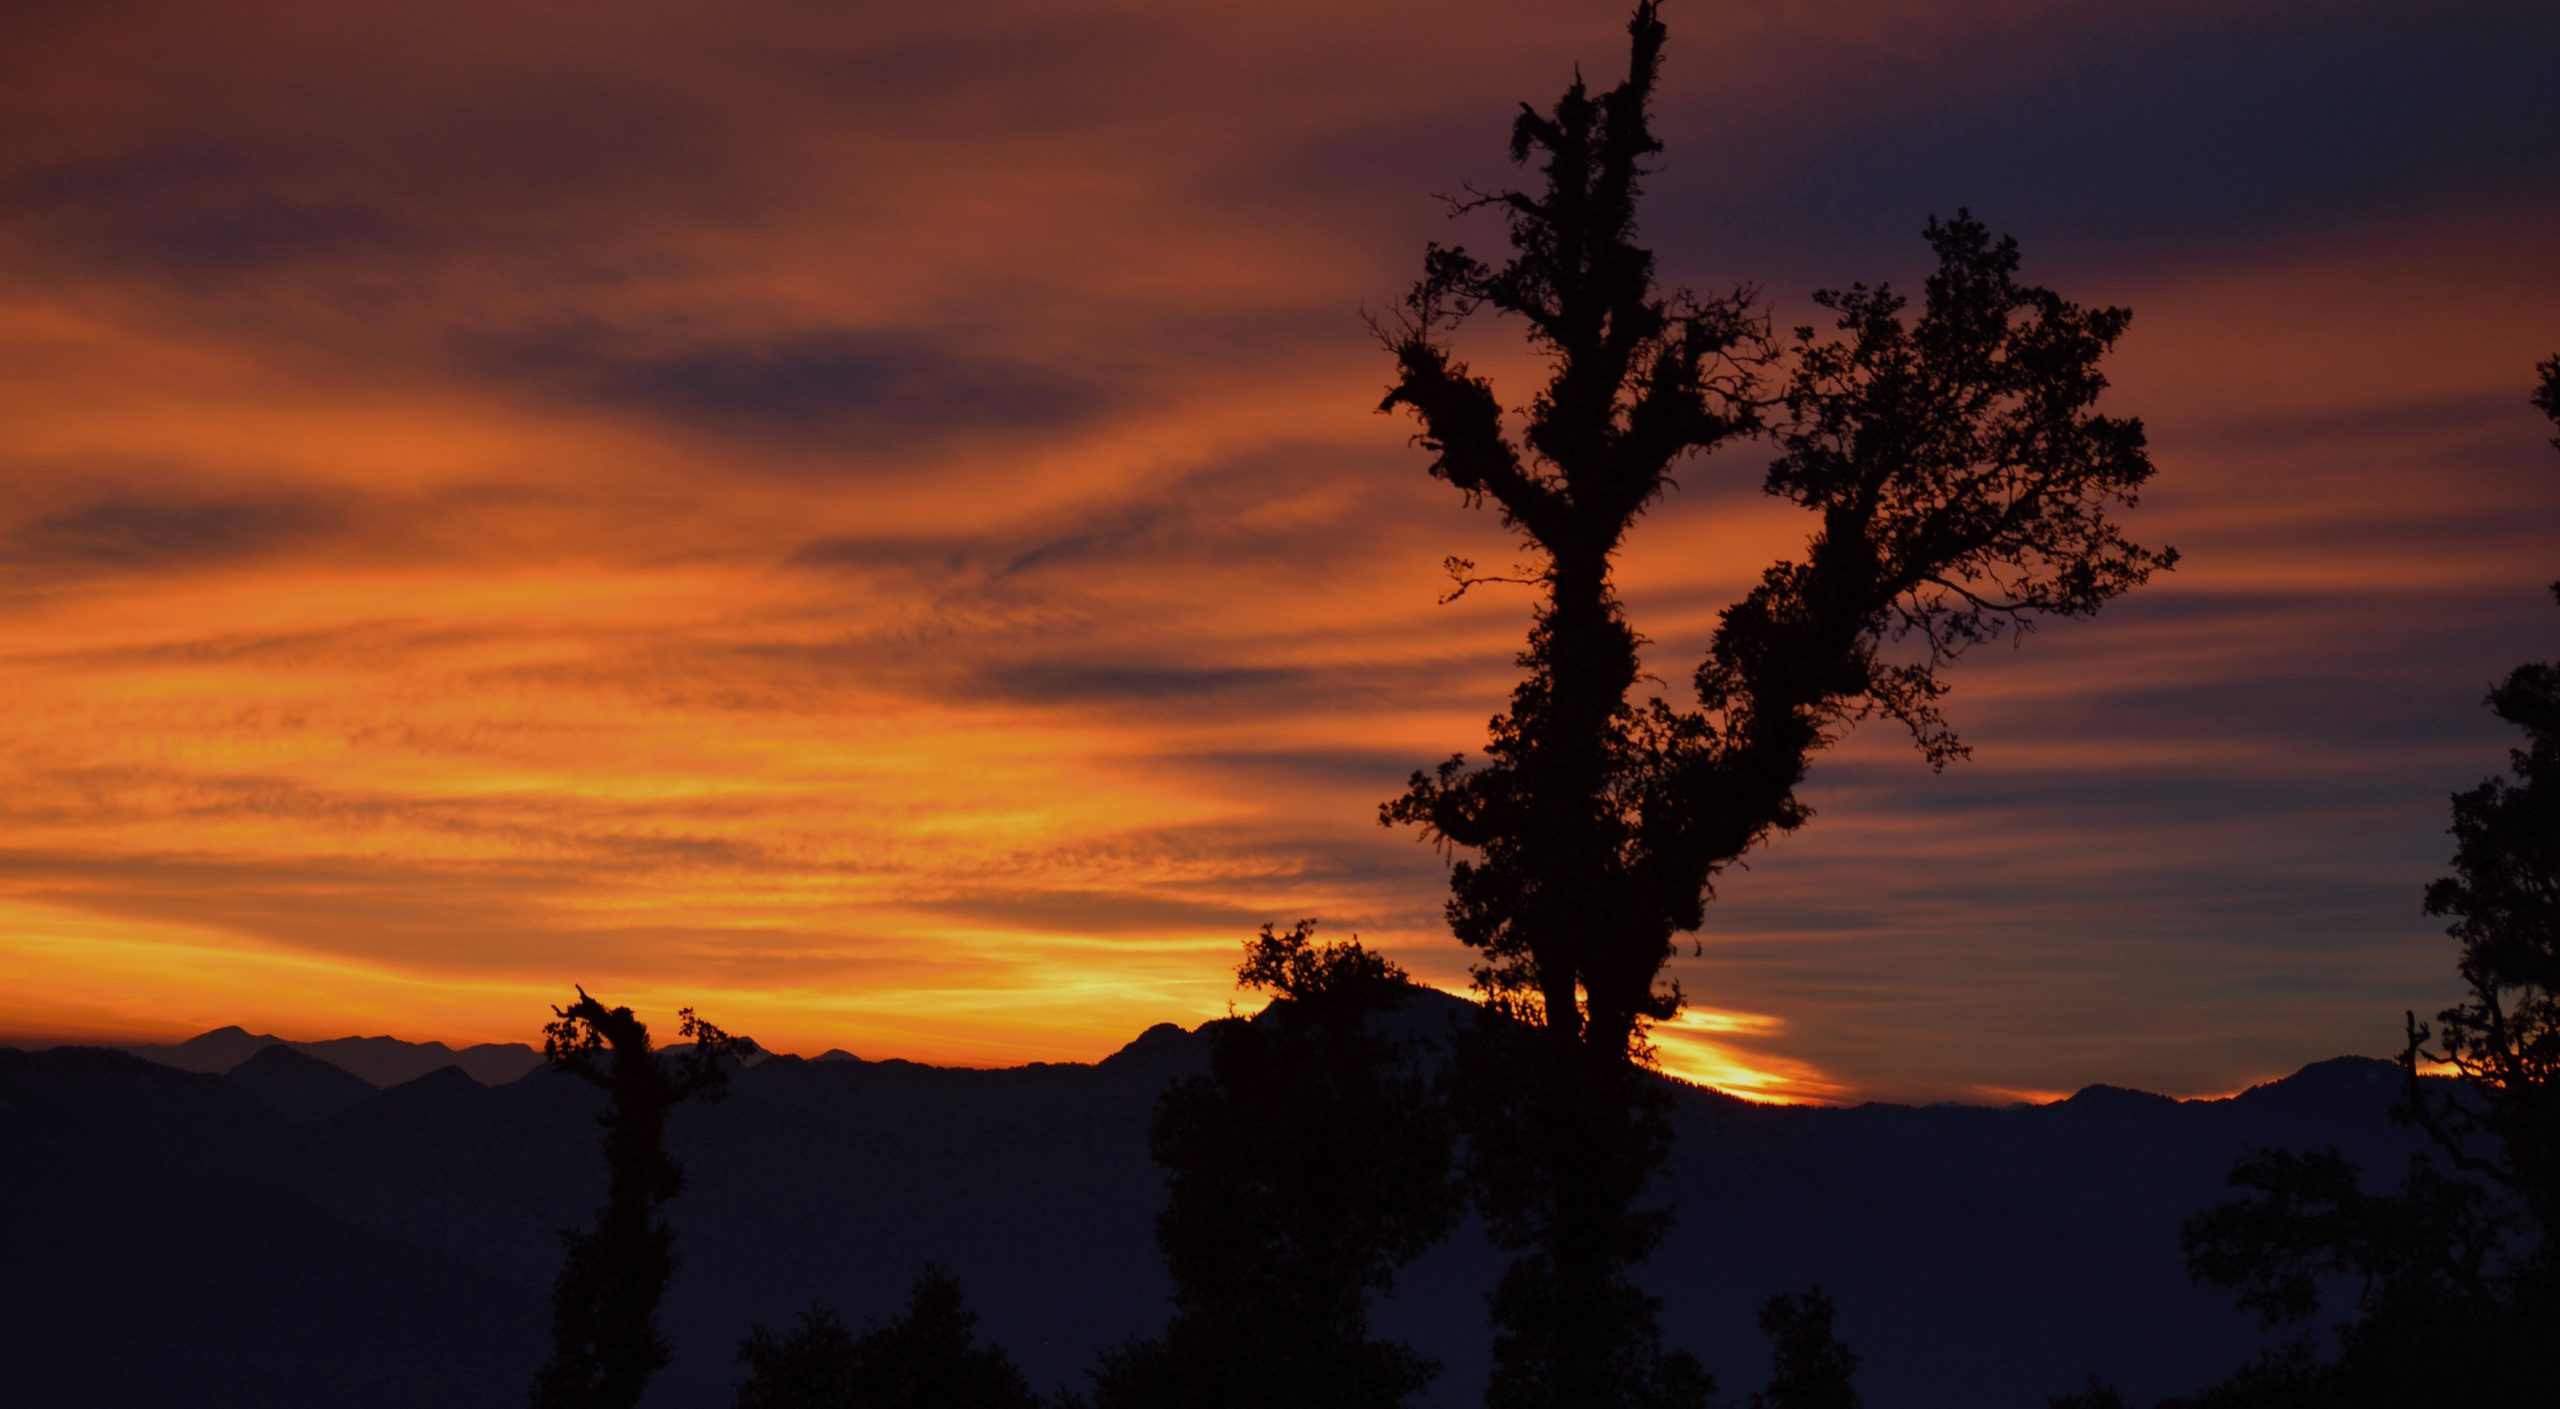
Silhouette Pics
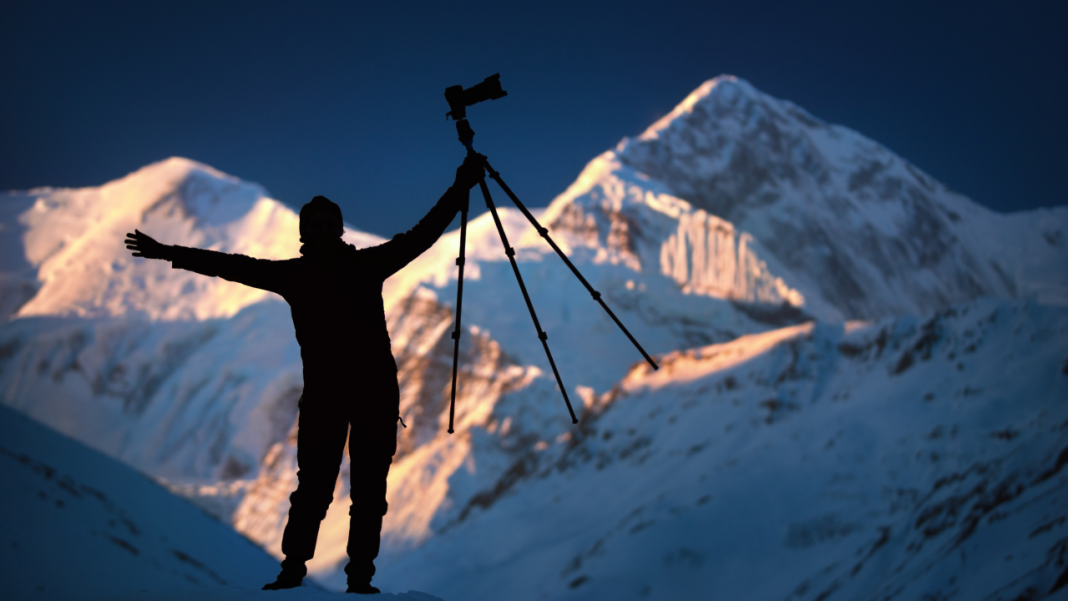
This is also a great technique of photography – which is really effective during sunrise or sunset. It is generally done on people in the front and light in the background. Do not turn on your flash. Make sure that the object (or person) remains darker, while the background illuminates.
12) Learn basic software photo editing
Taking photographs is just 50% of the work. You also need to make sure that you edit your best pictures. Editing elevates your pictures and helps you add various effects, colors, and filters.
Tools for editing: Most mobile phones have inbuilt editing options. This makes it convenient to edit photos taken through the mobile. You can take pics throughout the day and at night edit the ones you want before sharing. There are pre-built filters also while taking a photograph. I would not recommend using these, as later your freedom of editing a picture is generally lost. There are a bunch of apps that are built to help your trek and travel photos on the go. If you’re a beginner, some of these apps can come in super handy. Especially for pictures taken on your mobile phone.
If you are taking pics through a camera, you may want to edit the pics in software. You can download pics to your computer and edit them with inbuilt photo editing software. You don’t have to purchase something expensive like Adobe Lightroom. A MacBook has an inbuilt image editor which is good enough. The same applies to a windows PC.
- Use Basic Editing: While editing, avoid clicking the “auto” edit option. This may not give you a proper result. Instead, work with the following to enhance your photos. 1) Light, 2) Contrast, 3) Saturation. Adjust these 3 while keeping an eye on your photo. See before and after and adjust as per your requirements.
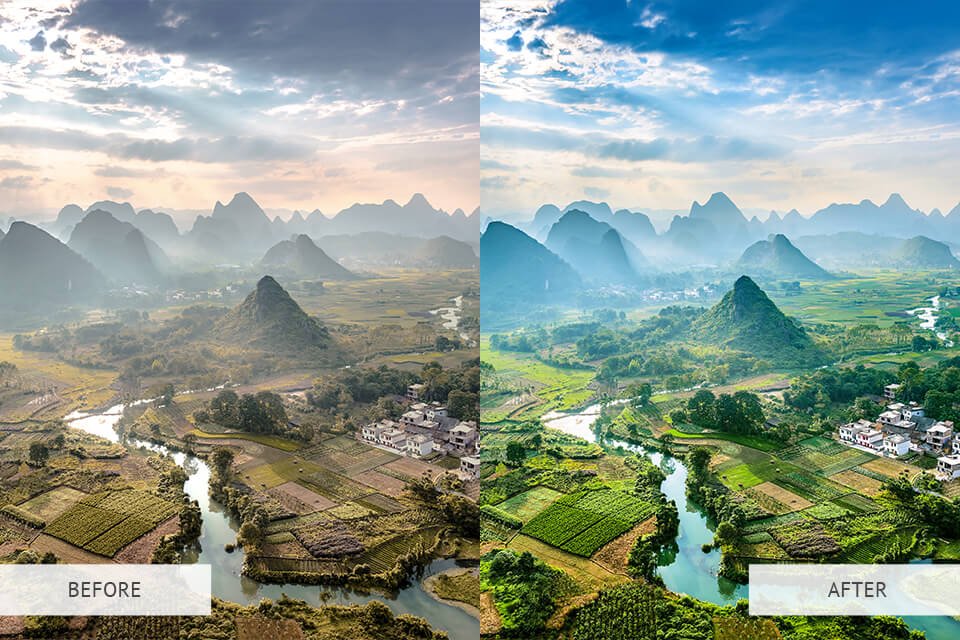
- Don’t overdo editing: At times, we get carried away and apply too much saturation or apply an unnatural colour filter. Avoid doing this. Try to make very simple and small adjustments to your pics. It will give you good results.

13) Click, Sort, Select, Edit, Share, Delete
I was trying to search for an acronym from above. But CSSESD did not make any sense! However, the point I am trying to make is about managing your photographs effectively.
On average, an enthusiastic photographer takes 500-600 photographs during a 6-7 day trek. You cannot share all these on your social media or with your loved ones. They will get bored seeing all these pics. So, be selective and follow this method.
- Click – Experiment. Click as many photos as you want. Click throughout the day for better light effects. Practice with a lot of styles and techniques. Try to capture most of the moments during the trek.
- Sort – Before editing, go through the complete set of photos. Sort the good ones. Delete the bad ones – blurred pics, bad composition, lighting, etc.
- Select – Select photos you want to showcase. Try to create a story from your photos. So select photos as per the flow of your trek.
- Edit – Edit only the ones which you have finalized for sharing. DO NOT share pictures without editing. When you have done most of the hard work in taking pics, it makes a lot of sense to edit before you share.
- Share – Share selected photos to your social media or friends once you are back in the network. Try to put a watermark or your signature in the image. Do not share through WhatsApp as it reduces the quality of the picture. Reduce the picture size a bit to upload pics faster.
- Delete – Do not clutter your mobile and laptop hard-disks with unnecessary photos. Remove the unwanted ones and keep the good ones.
14) Practice, Practice, Practice
When it comes to travel photography tips, reading is also essential. Now once you have applied these techniques and are a better photographer, make sure you improve every day. Read advanced concepts from the internet. Apply these during your photography and during editing. Learn from your mistakes. Review your bad pictures and try to figure out what went wrong. Participate in online photo contests for extra motivation. Put your photos as your mobile or laptop wallpaper.
15) Have fun
Photography is a very complex art form. Once you go deeper – it becomes more complex and creative. It is also expensive and time-consuming. Decide what do you want as a photographer. You can be a casual photographer who can take good pics during a trek. Or you can learn more about the techniques and turn into a pro photographer. But the most important thing is having fun. Enjoy what you are doing, respect others and esp respect nature.
About the author:
 Mahendra Rathod has done Post Graduate Diploma in Management(PGDM) from the Indian Institute of Management Bangalore (IIMB) and a Bachelor’s degree in Mechanical Engineering from M.S. University Baroda.
Reading, trekking and running are what keeps him going. He is a thinker with a thirst for knowledge of various subjects including public affairs, economics, fitness, human behaviour, etc. He is also an active business mentor. To know more about Mahendra, catch him on LinkedIn here.
Thanks for sharing such an amazing & informative blog post here. I read your blog all tips that your share it work while trekking I personally used it & recommend to all trekking lovers.
Thanks. We look forward to seeing you on our treks soon!