Winters are now rolling in across the country and while some prefer being wrapped up in their blankets on cozy mornings, others don’t let the winter chills affect their outdoor adventures. And rightly so, the frozen lakes, the snow on the pine trees, the incredibly wondrous trails are all a recipe for a great winter trek. We love the thought of trekking up a snow-clad mountain, camping there for several days, and just enjoying nature, of course, with a little guidance.
Winter trekking in India, especially in the Himalayas, is definitely dreamy and adventurous, only if you’re well prepared. The winter weather up in the mountains can be extremely rough and uncertain, ranging from anywhere between 20°-10° Celsius during the day and dipping to less than -10° and sometimes even -20° during the night. This winter trekking guide is equipped to help you embrace the cold no matter the temperature!
This snow trekking guide covers all bases with tips on what to pack, how to layer up on a winter trek, essentials you need to carry, precautions to take, and most of all, what winter trek suits you the best.
Jump ahead to:
- What you will love about winter trekking?
- Choosing the right winter trek
- Getting fit for a winter trek
- Packing right for a winter trek in the Himalayas
- Clothing & Layering during a winter trek
- Choosing the right footwear for winter treks
- Tips for staying hydrated in the cold
- Winter trekking guide & tips for beginners by our Founder Naveen Mallesh
- Skincare 101: Taking care of yourself on a winter trek
- Photography tips for winter treks
Winter Trekking Guide 101:
What you will love about winter trekking?
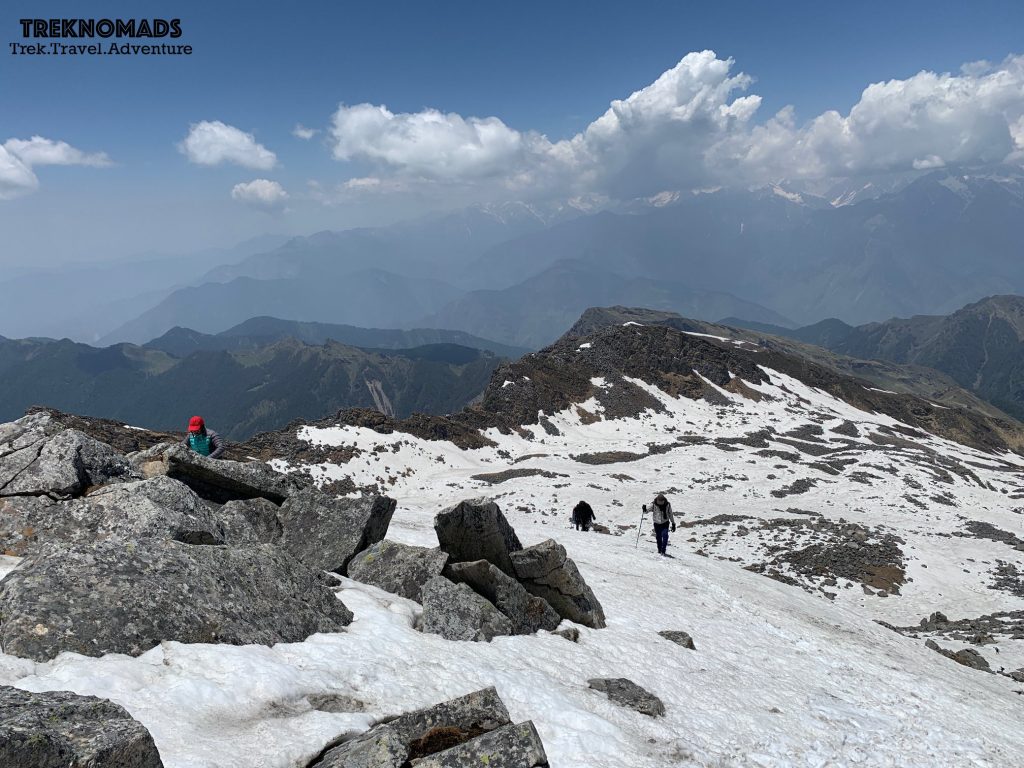
When it comes to winter trekking in the Himalayas, magical would be the word that comes close to describing the experience. The Himalayas in the other seasons welcomes you with sunshine, rain, and sometimes clear weather, you see lush greenery around you painting a very colorful picture. Winter changes the same landscape and your trekking experience entirely. Right from the terrain, to the wildlife to the vegetation and snow all around you, the trails leave you mesmerized with an experience of a lifetime.
Adding to this, experiencing snowfall when you’re trekking up a mountain, or sliding down a slope because snow slides are fun creating snowman and even snow angels – everything here will remind you of Narnia a winter wonderland that awaits explorers. The stillness in the air, the lakes frozen in time, the trees that make no movements, all you can hear is the incredible sound of your breath leaving you with a realization of being a part of that environment at that moment. If you ask us, that experience is only found on winter treks and it’s unbeatable.
If you’ve been considering the thought of winter trekking but have not planned one yet, the right amount of preparation will make fall in love with winter trekking.
Choosing the right winter trek
If you’ve already decided to go on a winter trek in the Himalayas, but you’re not able to choose the right winter trek for you, here’s a quick guide that will help you out:
Easy Winter Treks for Beginners:
1. Trek to Kedarkantha Peak:
Trek to Kedarkantha Peak is easily one of the most popular winter treks in India. The trail that starts from a small hamlet called Sankri in Uttarakhand is carpeted in snow in peak winters. This is also a perfect summit trek for all those Nomads who are looking to summit their first Himalayan Peak! In fact, if you’re looking for a less crowded season, this is a great trek that you can attempt in February.
Details about the trek:
- Trek Gradient: Easy-Moderate
- Trek Distance: 25+ Km
- Days of Trekking: 5 Days
- Highest Altitude: 12,500 ft (3,810 m)
- Winter Treks Departures: November, December, January, February
Click here to know more about the Trek to Kedarkantha Summit
2. Trek to Brahmatal Top:
Another easy winter trek in India is the serene Brahmatal trek in the Trishul Range. This trek has captured the hearts of beginner trekkers & winter trekking enthusiasts. The highlight of this trek is the picture-perfect campsites and the pristine and frozen Brahmatal lake nestled deep in the trail. The close-up views of giants like Mt. Trishul Massif (7,120 m/23,359 ft), Mt. Neelkanth (6596 m/21,640 ft), and Mt. Hathi Ghoda (6729 m/22,070 ft) will leave you awe-struck.
Details about the trek:
- Trek Gradient: Easy-Moderate
- Trek Distance: 30+ Km
- Days of Trekking: 5 Days
- Highest Altitude: 12,250 ft (3,734 m)
- Winter Treks Departures: November, December, January, February
Click here to know more about the Trek to Brahmatal Top
Moderate Winter Treks:
3. Trek to Kuari Pass
This trail was discovered back in early 1900s by the then Viceroy of India, Lord Curzon. Located at an altitude of 13,989 ft (4,264 m), this trail is blazing with gorgeous views of the surrounding mountains, mystical forests and breathtakingly gorgeous meadows. The Rhododendron forests, the Tali lake on top, the view of the Pangarchulla Peak, the campsites and the views of India’s highest peak – Mt. Nanda Devi makes this an amazing winter trek for seasoned trekkers.
Details about the trek:
- Trek Gradient: Moderate – Difficult
- Trek Distance: 40+ Km
- Days of Trekking: 4 Days
- Highest Altitude: 13,989 ft (4,263 m)
- Winter Treks Departures: November, December
Click here to know more about the Trek to Kuari Pass
Difficult Winter Treks in India:
4. Trek to Pangarchulla Summit
Pangarchulla is easily one of those treks that is well-rounded and poses just the right amount of challenge for trekkers. The trail starts off with lush green and turns into a snowy wonderland. The trail that you follow through the trek also gives you a close-up view of some of the highest peaks of the Garhwal region.
Details about the trek:
- Trek Gradient: Difficult
- Trek Distance: 40+ Km
- Days of Trekking: 4 Days
- Highest Altitude: 15,010 ft (4,575 m)
- Winter Treks Departures: November, December
Click here to know more about the Trek to Pangarchulla Summit
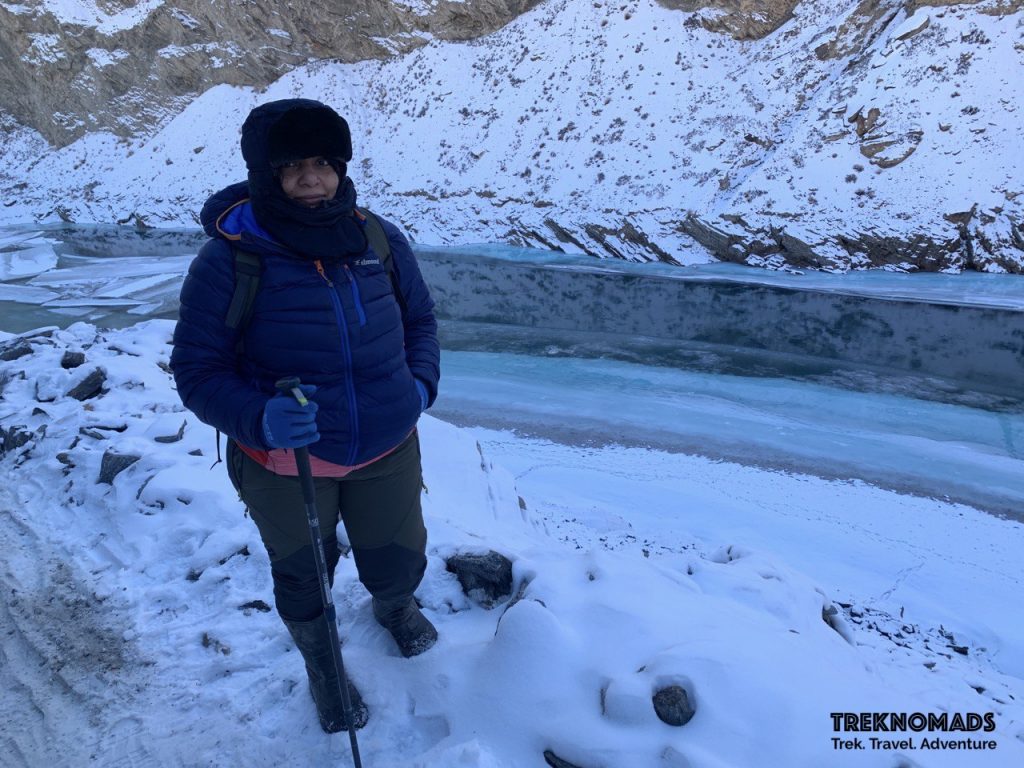
5. Chadar Frozen River Trek
Chadar is one of the most challenging winter treks in the world. While the trail is relatively flat and requires Nomads to walk alongside the frozen Zanskar river, the challenge lies in braving the cold. Considered to be a life-changing experience, Chadar is well known for its breathtaking views of the river and the Zanskar valley and for getting Nomads to push their limits and embrace the icy cold weather of the Ladakh region. Read this detailed guide on the Chadar trek.
Details about the trek:
- Trek Gradient: Difficult
- Trek Distance: 60+ Km
- Days of Trekking: 5 Days
- Highest Altitude: 11,400 ft (3,500 m)
- Winter Treks Departures: January
Click here to know more about the Chadar Frozen River Trek
Getting Fit for a Winter Trek

Now that you’ve decided to go ahead and do a winter trek, do note that winter treks are invariably more difficult than regular treks. In fact, the same terrain would be easier to climb in summers when compared to climbing in the snow. Prepare by upping your fitness, and you’ll enjoy it a lot more.
Before starting your fitness regime, you will need to do is evaluate your current fitness level. Once you do this you will have a good idea of the amount of effort you need to put in to get fit for the trek. Ideally, any kind of high-altitude trek requires about 3-6 months of consistent fitness regime that must be religiously followed.
Also, when it comes to winter trekking, you will need to work on both your physical as well as your mental self. This winter trekking guide will give you a quick, easy to follow 8-week regime of curated exercises to help you reach the best fitness level for any of the above-mentioned winter treks. This regime can be extended to up to 12 weeks as well if you have the time:
- Stair Climbing
Days: Mon, Thurs
Routine: 5 min – (2.5 min continuously*2 sets) with a 1 min break between each set
How will this help – Pushing your body against gravity is a great cardiovascular activity. Stair climbing helps strengthen the muscles around your knees and helps build endurance. - Push-Ups
Days: Mon, Thurs
Routine: 5*2 Set (10) – (1 min rest between each set)
How will this help – Push-ups help you build a stronger upper body while strengthening your core. This exercise helps when you have to ascend while carrying a backpack. - Squats
Days: Mon, Thurs
Routine: 5*2 Set (10) – (1 min rest between each set)
How will this help – Squats are the best form of functional fitness. They promote balance and stability and strengthen legs, thighs, hips, buttocks, and hamstrings. - Crunches
Days: Tues, Fri
Routine: 5*2 Set (10) – (1 min rest between each set)
How will this help – Crunches work on your abdominal muscles to build your core strength. This exercise will help you keep your balance on uneven surfaces. - Interval Running
Days: Tues, Fri
Routine: 15 min – (alternate 60 secs of continuous running 90 secs brisk walk)How will this help –Running is a great cardiovascular workout, it is also an aerobic activity that uses more oxygen. This workout helps makes your lungs stronger.
- Burpees
Days: Tues, Fri
Routine: 5*2 Set (10)- (1 min rest between each set)
How will this help – Burpees is a great full-body strength training exercise and the ultimate example of functional fitness which helps abs, hamstrings, chest, glutes, and arms. - Rest
Days: Wed, Sat, Sun
How will this help – Rest is an integral part of your fitness routine which must not be missed. Overdoing can cause an unnecessary injury to your body.
Meditation can be a great form of increasing your lung capacity and tuning your mind to what your body feels. You can take up meditation classes online.
If you wish, your fitness regime can be monitored by our Founder & Trek Captain – Naveen Mallesh, upon request.
Packing Right for a Winter Trek in The Himalayas
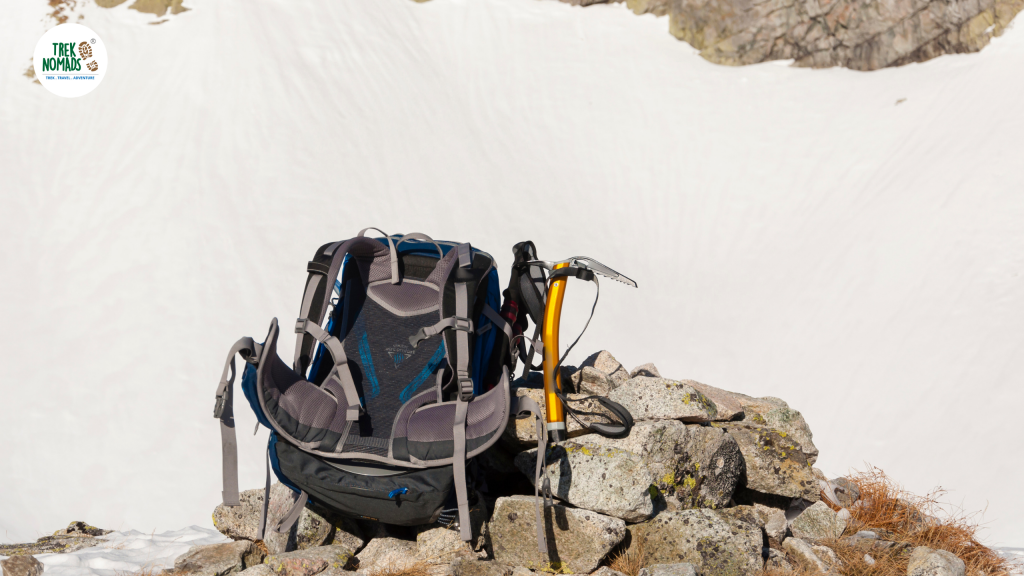
This winter trekking guide will give you an easy to follow checklist of all the essentials you will be required to carry on any of your winter treks.
Backpack required:
- A rucksack – 70-80 Kgs (These will be given to the porter)
- A day backpack – 20-30 Kg
- A laundry bag – Preferably a light cloth bag
- A shoe bag – Preferably a light cloth bag
Here’s what you need to carry in your day backpack:
- Thermal Water bottle (2 x 1-liter bottles)
- Isothermal case for your bottle so that your water does not freeze
- Protein Bars
- Torch/headlamp (with spare batteries)
- Power bank
- Lunchbox & spoon (Small & compact)
- Hiking stick
- Sun goggles (other than blue tint)
- Lip balm & sunscreen with SPF 50 and above
- Extra pair of synthetic socks
Other Essentials to pack:
- Toiletries, wet wipes & tissue rolls (2)
- Sunscreen – SPF 40 & above
- Moisturizing lotion, lip balm, and Deo stick/deodorant
- Personal medicines (The trek lead will be carrying a basic first aid kit)
- Utility kit – Safety pins, rubber bands, clips, needles etc.
- Plastic bags – biodegradable
- Power bank – 2 preferably
- 5 Photocopies of your PAN/AADHAR/PASSPORT for various permits etc.
- Passport Size photos – 3 – 4
Click here to download a detailed Himalayan Winter Trekking Checklist
Clothing & Layering During a Winter Trek
Gloves:
A winter trekking guide would be incomplete without a great pair of gloves. You will be wearing gloves all through the day. You are required to carry about 4 pairs of good woolen gloves.
Clothing & Accessories:
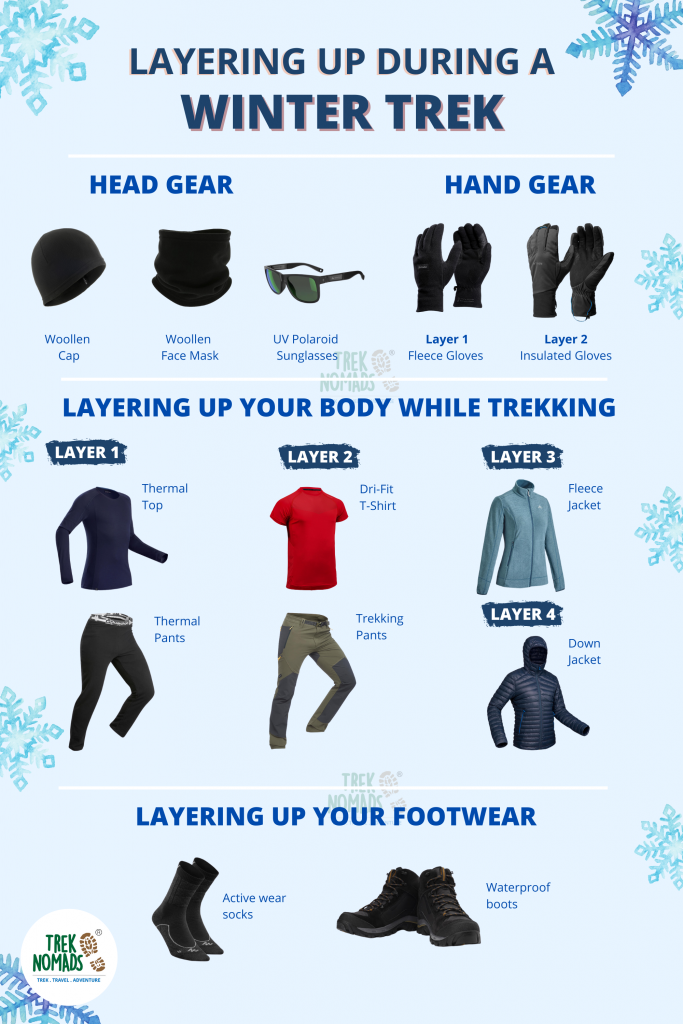
This where you will have to be smart. When it comes to winter trekking, the trick is to not just layer up, but layering right.
Here’s a quick guide to layering up for any snow trek:
Head Gear:
- Woolen Cap – That can cover your ears and head entirely
- Woolen balaclava that can cover your neck, mouth and nose
- Polaroid sunglasses – with UV protection
- Headlamp – in case it gets dark while trekking
- Sun cap with a back flap to protect your nape
Layering your Upper Body while at camp:
-
- Thermals – Layer 1
- T-Shirt (Dri-Fit – preferably to absorb sweat) – Layer 2
- Sweater – Layer 3
- Another layer of sweater – Layer 4
- Fleece jacket – Layer 5
- Down Jacket or polyfill padded jacket – Layer 6
- Gloves
Layering your Upper Body while trekking:
-
- Thermals – Layer 1
- T-Shirt (Dri-Fit – preferably to absorb sweat) – Layer 2
- Fleece jacket – Layer 3
- Down Jacket or polyfill padded jacket – Layer 4
- Gloves
Layering up your Lower Body while at Camp:
- Basic thermals
- Trekking trouser
- Polyester trekking socks
- Woolen socks
Layering up your Lower body while trekking:
- Trekking trousers
- Polyester or active-wear socks
- Trekking shoes
Pro-Tips:
- If you wear spectacles, you can either wear it below a pair of oversized sunglasses. You could also get powered polaroid glasses made. Brands like Lenskart, Titan, etc. can custom make powered sunglasses for you.
- For those of you who wear contact lenses, you can keep using them on the trek without any worry. Just make sure you carry enough cleaning solution so you clean your fingers well before wearing the lens.
- Avoid carrying knitted jackets on the trek. Not only are they heavy, but they also don’t protect you enough from snowfall.
- For your base T-Shirt, avoid carrying cotton T-Shirts and opt for Dri-Fit T-Shirts instead. These will absorb your sweat and keep you dry at all times.
- If you are planning on buying a jacket, opt for a padded jacket instead or a down jacket. Padded jackets are low maintenance and are generally water-resistant.
- When you buy pants, make sure you buy the ones with the zipper pockets. These will help you keep your phones safe and handy.
- Don’t substitute track pants for your trek pants. Track pants can be worn as an extra layer in case you’re feeling too cold, but definitely avoid wearing them as your trek pants.
- Avoid anything cotton on this trek. The region you’re trekking to won’t let you dry clothes and accessories very easily. From hand towels to T-shirts, and pants, avoid cotton.
Choosing The Right Footwear for Winter Treks
Your boots are probably one of the most important equipment you will be required to wear on your winter trek – we would definitely recommend you invest well in a good pair of shoes.
You will need to make sure that your boots are high-ankled, waterproof and well insulated to help you protect from the freezing temperature. Decathlon has a great pair of waterproof shoes for men & for women.
Alternatively, don’t forget to carry a pair of open sandals that can be worn at the campsite. It is essential that you give your feet some relief from the boots after trekking for long hours. Make sure that you wear these with a good pair of woolen socks.
If you’ve opted for Chadar trek, you may also come across instances where you will have to walk through a small level of freezing water, we know how scary this may sound. This is where your gumboots will come into the picture. Wearing gumboots during the trek is a mandate. Whereas on other winter treks like Kedarkantha or Brahmatal etc., you may need crampons to ensure firm grip while climbing in snow. The same will be provided to you during the trek.
Socks:
We know that the first option that comes to mind when it comes to choosing the right socks in this instance is Woolen. But let us tell you, trekking in woolen socks can be a bit of a pain. The best choice of socks you can carry is the ones meant for active-wear. These normally come with a blend of woolen and synthetic fabric. Not only do they dry faster, they make your feet comfortable – something that is essential for long-distance hiking.
It is also recommended that you keep an extra pair of socks for each day in case your current socks get wet, you will need to change your socks without any delay.
Carry about 4 pairs of active-socks and 4 pairs of Woolen socks. Once you reach your camp for the day, ensure that you clean & dry your feet and wear the woolen socks (2 pairs to make it extra warm as temperatures would dip down in the night).
Tips For Staying Hydrated in The Cold
Even with cold-weather trekking, hydration is of the utmost importance as you’re still burning energy and sweating.
Water bladders may not be so practical if you’re trekking in freezing temperatures as the tube can freeze completely. Instead, opt for a water bottle/flask, taking sips frequently as this will stop the water inside freezing.
Top Tip: Don’t miss the hot tea/coffee in the morning, this will help give you some much-needed warmth and you’ll be glad for it in frosty surroundings.
Top Tip 2: Always keep your water bottle inside your sleeping bag. This will ensure you have water to drink in case you feel thirsty in the middle of the night. This is also a great way to avoid ice-cold water in the morning.
- Your daily consumption of water on days when you are trekking should be between 6-7 liters every day. With 2-3 liters consumed during the trek
- Start drinking the same amount of water at least a week prior to the trek. This is will help your body adapt to the increase in water intake.
- It is important that you substitute for the nutrients and minerals that your body has lost while you sweat.
- Hydrants such as FAST & UP work towards making up for these lost electrolytes, nutrients and minerals and equip your body for superior performance.
- Keep sipping water every 10 – 15 minutes while on a trek. Especially in a dry and cold region like the Zanskar where you don’t perspire and the chances of dehydration are very high.
Winter Trekking Guide & Tips for Beginners by TrekNomads Founder – Naveen Mallesh
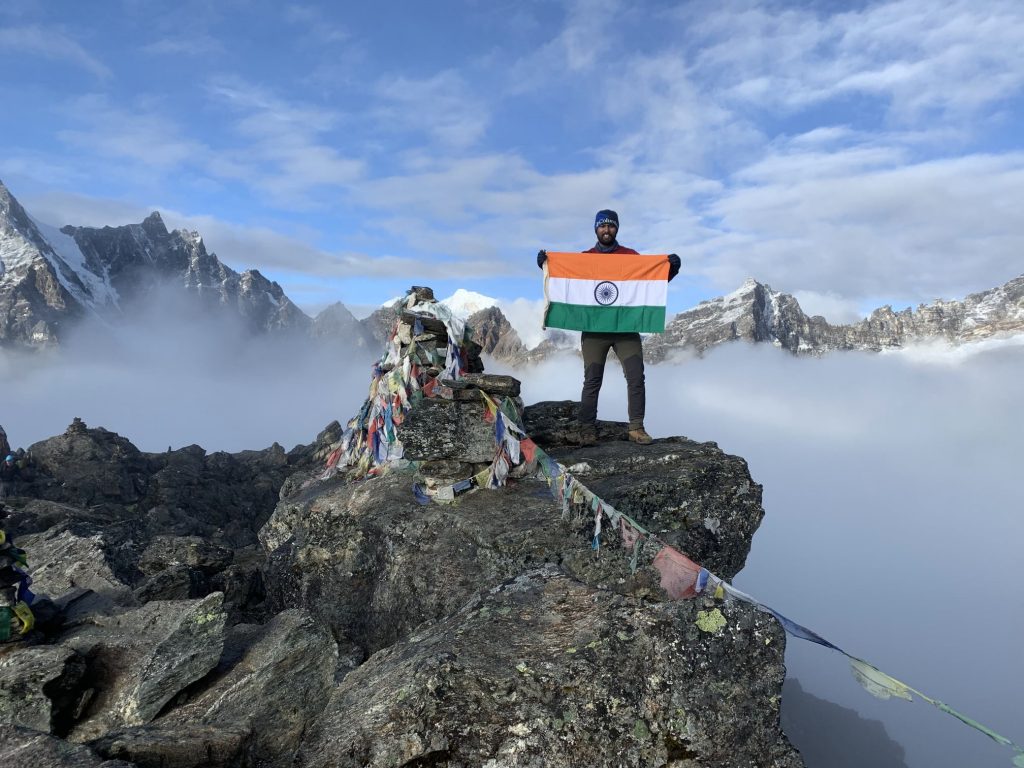
If you’re new to winter trekking in the Himalayas, don’t worry, we’ve got you covered. This winter trekking guide is equipped with some tips and tricks penned down by our Trek Captain & Expert Naveen Mallesh for new trekkers such as yourself.
1. Choose your first winter trek wisely:
Don’t get carried away and book a difficult-challenging trek in the first attempt. Always start small, this will help you understand how your body is adjusting to the terrain especially to the cold. You can always opt for bigger treks once you’re experienced.
2. Get a friend along:
Winter treks are fun, but it is even better when you trek with a friend. This also ensures you know who you’re sharing a tent with. You are also more likely to be motivated to prepare yourself for the trek when your Nomad Buddy tags along.
3. Understand the art of layering up:
Your winter trekking experience relies entirely on how you layer up, the above guide on layering guide will help keep you warm and give you a great overall experience. Layering up
4. Don’t wait for the sun to go down to layer yourself up:
Ideally, you need to start layering up as soon as you reach the campsite for the day. This will ensure your body remains warm at all times and the heat within your body is trapped and you, in turn will be ready to embrace the cold night.
5. Use the washroom before you go to bed:
We see Nomads making the mistake of not using the washroom enough while on winter treks. You need to relieve your bladder before you go to bed to avoid sleeplessness at night. If the washroom is away from the campsite take your buddy along with you, but make sure that you urinate before you sleep. This will also ensure that you do not have to step out of your tent at night.
6. Wear two layers of gloves
A great way to keep your hands warm is by layering up your gloves. Always layer your hands with fleece gloves and then with warm winter gloves. This will ensure that your body heat is trapped within the gloves and it will also keep your hands warm.
7. Never go to bed on an empty stomach
Always ensure you have a carb and protein-rich dinner on winter treks, this will help your body maintain it’s core temperature and will keep you warm all through the night.
Skincare 101: Taking Care of Your Skin on a Winter Trek
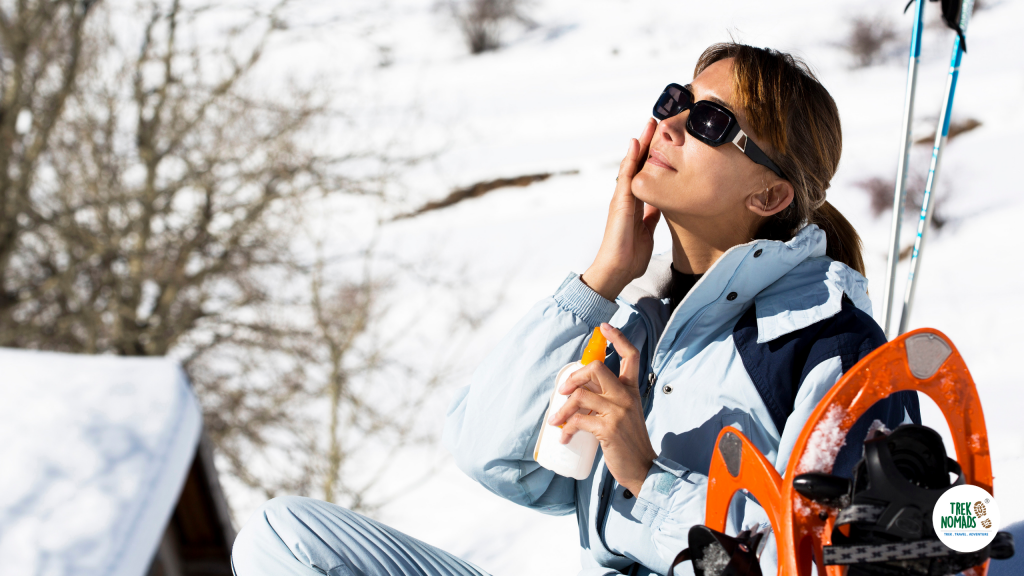
You may be wondering skincare is the last thing you should be worried about on a winter trek, well, you’re wrong. The winter sun can be extremely harsh on your skin leaving you with not just a skin tan but a skin burn that can be prevented. With this winter trekking guide, we’re going to give you some easy to follow tips on how you can ensure your skin remains moisturized and protected on winter treks:
- Wear sunscreen with SPF of 50 & above.
- Apply a generous layer of moisturizer and then slather on sunscreen on all exposed body parts. Keep reapplying the sunscreen every 2-3 hours.
- Wear a thick lip balm and keep reapplying this every hour. The last thing you need is chapped lips that starts burning.
- An are prone to skin burn is the tip of your nose. You can either cover it up with a face mask or apply extra sunscreen in that area.
- If your moisturizers or lotions freeze overnight, take them to the kitchen tent and heat them up a little near the fire. Please be careful when you do this as these bottles would be made of plastic.
- Bathing on a winter trek is a strict no-no. So, carry wet tissues to help you clean yourself every now and then.
Photography Tips for Winter Treks
It goes without saying that you would want to capture some unforgettable & Instagram worthy photographs on your trek, through this winter trekking guide we’re giving you some tips that can help you capture great shots and keep your camera safe.
- If you’re using a camera, ensure that you use it with at least one layer of protection (thin gloves). Metal is a superconductor and this will ensure that you don’t get frostbite. Keep your phone and your camera in an inner pocket or in your pant pocket so that it remains closer to your body temperature.
- If you’re getting a bigger camera bag, make sure that you carry a weather-resistant camera bag.
- Just like you, your camera needs to acclimate as well. Make sure your camera stays for at least 15 minutes in the weather you’re going to shoot in. This will help you avoid excess moisture that builds up in the lens.
- Keep your batteries close to your body heat (cover it up with a sweater in your bag, this will help it sustain in the cold).
- Shoot your photos in manual mode. This will avoid the overexposure of white balance, which you are likely to face in this region.
- Know all about focus and shutter speed in case you wish to capture snowfall shots (depends on the weather conditions)
This brings us to the end of this detailed winter trekking guide. We are excited to announce that we have resumed operations and our winter treks for customized private groups are now up and running. If you and your group are thinking of joining a winter trek, do plan ahead right away! If you have any further queries, write to us at info@treknomads.com.
Happy Trekking! We’ll see you on the trails 🙂
Hi there, MegaCool blog mate, I really loved this page. I’ll be sure to talk about this to my cousin who would, odds are, love to check out this post too. Found this sites post through the Bing search engine by the way, incase you were curious. Many thanks for the wonderful read!
[…] This blog on the Ultimate Winter Trekking Guide from TrekNomads was really […]